Setting up a Shopify store feels exciting until you realize traffic does not magically appear. You add products. You tweak the design. You hit publish. And then nothing happens. That is where Instagram and Facebook ads come in. When used properly, they can send real buyers to your Shopify store. Not just likes. Not just views. Actual sales.
But the setup? Confusing at first. Too many dashboards. Too many options. Too many people saying “just boost the post.” So let’s slow things down and walk through it step by step. No fluff. No agency jargon.
Step 1: Make Sure Your Shopify Store Is Ready
Before running ads, your store needs to look trustworthy.
Ask yourself:
- Does the website load fast?
- Are product prices clear?
- Do product images look professional?
- Is the checkout simple?
Because here is the truth. Ads do not fix bad stores. They just bring people faster to see the problems.
At minimum, your store should have:
- A clean product page
- Clear product descriptions
- Shipping and return information
- A smooth checkout process
It does not have to be perfect. Just believable.
Step 2: Set Up Facebook Business Manager
This is where beginners usually feel stuck. Don’t worry. Everyone does. Facebook Business Manager is just the place where Meta keeps your pages, ad accounts, and assets together.
You will need:
- A Facebook account
- A Facebook Page for your brand
- An Instagram account set to business or creator
Create a Business Manager and add your page, Instagram account, and ad account. Yes, it feels like paperwork. But you only need to do it once.
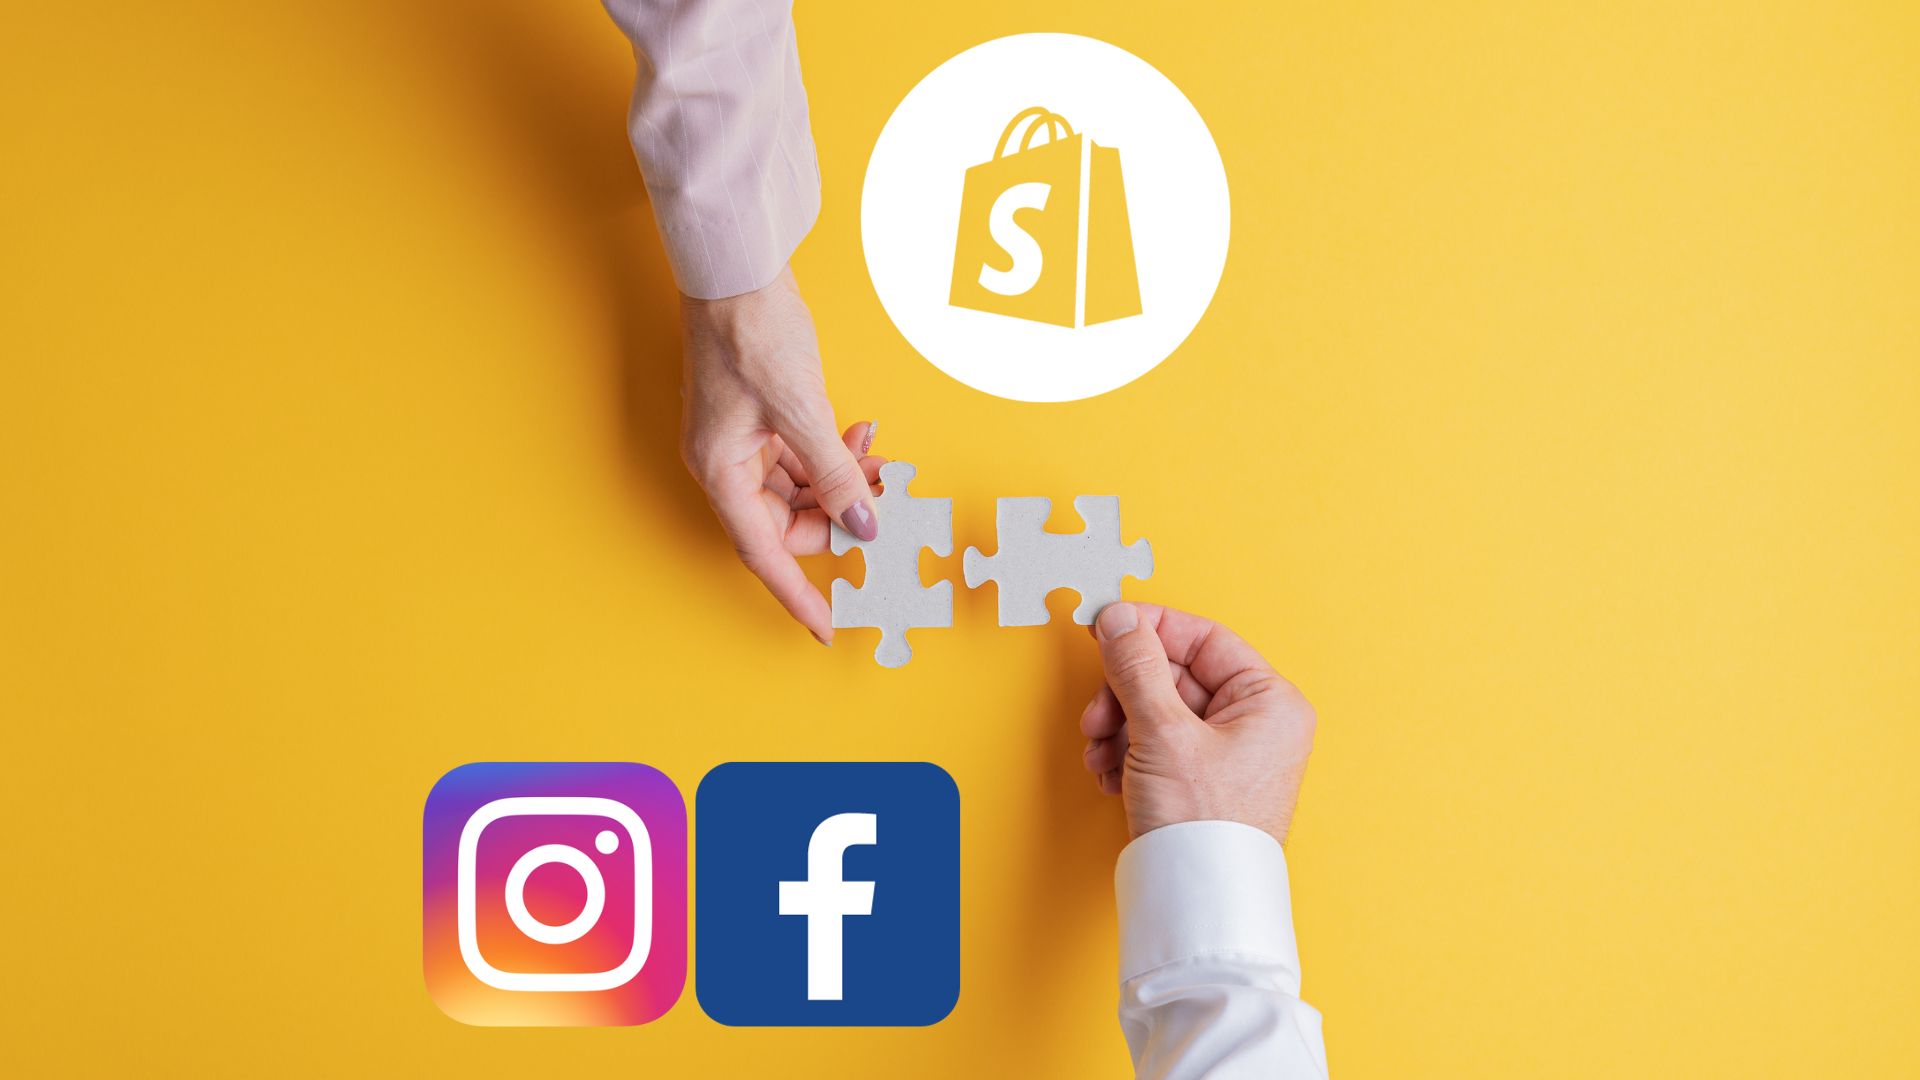
Step 3: Connect Shopify with Facebook and Instagram

Shopify makes this part easier than it sounds.
Inside Shopify:
- Go to Sales Channels
- Add Facebook and Instagram
- Log in using your Facebook account
- Connect your Business Manager and ad account
Shopify handles most of the technical setup like syncing products and installing tracking.
Still, double-check:
- Your domain is verified
- Products are syncing correctly
- The Facebook pixel is active
This connection allows Meta to understand what happens in your store. That understanding is important.
Step 4: Check the Facebook Pixel
The Facebook pixel tracks actions like:
- Page views
- Add to cart
- Purchases
Without it, Meta ads are basically guessing. Shopify usually installs the pixel automatically. Still, check in the Meta Events Manager to make sure it is working. If the pixel is not tracking correctly, fix that first. Running ads without tracking is like driving with your eyes closed.
Step 5: Decide What You Are Advertising
This is where many beginners make mistakes. Do not advertise your entire store. Advertise one product or one clear offer.
Pick:
- A best-selling product
- A problem-solving product
- A limited-time deal
Focus matters. People scrolling Instagram do not want choices. They want one clear reason to click.
Step 6: Create Ads Using Meta Ads Manager
Boosted posts feel easy. They are also less effective. Use Meta Ads Manager instead. You get better targeting and more control.
The structure looks like this:
- Campaign: Your goal, like traffic or sales
- Ad set: Audience, budget, placements
- Ad: Image or video plus text
If your pixel is working, start with conversion or sales campaigns. If not, traffic or engagement is fine to warm things up.
Step 7: Choose the Right Audience
Here is something people overthink. You do not need super detailed targeting at the start. Good beginner options include:
- Interests related to your product
- Competitor brand names
- Broad targeting and letting Meta optimize
Later, once data builds up, you can use:
- Website visitors
- Add-to-cart audiences
- Past customers
- Lookalike audiences
Start simple. Let the system learn.
Step 8: Create Ads That Feel Natural
Instagram and Facebook ads should not scream “advertisement.” They should feel like normal posts.
Some tips:
- Use real product photos or videos
- Show the product in use
- Keep text short and conversational
- Avoid aggressive sales language
Ask a question. Show a quick benefit. Talk like a human. People stop scrolling when something feels relatable.
Step 9: Send Traffic to the Right Shopify Page
Do not send ad traffic to your homepage.
Send people directly to:
- A product page
- Or a focused landing page
Remove distractions. Make buying easy. Every extra click reduces conversions. Confusion costs money.
Step 10: Track Results and Improve
Your first ad will probably not be perfect. That is normal.
Watch metrics like:
- Click-through rate
- Cost per click
- Add to cart
- Purchases
Change one thing at a time. Creative, audience, copy, or budget. Ads are not set-and-forget. They test, learn, and adjust.
Final Thoughts
Using Shopify with Instagram and Facebook ads is not magic. It is a system. Shopify handles products and checkouts. Meta handles traffic and targeting. You focus on testing and improving. Start small. Spend carefully. Learn from data. And remember, every successful Shopify store once stared at these dashboards feeling confused too. You are not behind. You are just starting.